

I’ve been quite a busy bee lately, cramming in as much as I can before we go back to school! At the beginning of the summer I made a list of all the things that I wanted to do over the holidays. Truth be it I have done nothing off of my list but the good news, I did a whole lot of other stuff instead! So much for lists eh!
Something I have always wanted to try out is upcycling furniture, everywhere I looked I was seeing images of old furniture brought back to life with paint and other attachments and was keen to give it a go myself. Annie Sloan paint was everywhere so I did a bit of investigating and although I have seen some nice results with the Annie Sloan paint I knew that it just wasn’t for me, no offense Annie! I just didn’t want that chalk paint finish. Something fresh. bright, clean and contemporary thats what I was after. The second most important thing about this project for me was that I was doing it on a budget so ideally I was looking for some tester pots in cool colours that wouldn’t break the summer holiday piggy bank.
To cut a long story short, I met a lovely girl in my local coffee stop (Filter, which I will have to blog about soon as it is just an awesome little spot indeed!) and she told me about this paint called Little Green, which she also uses to upicycle furniture. If you ever want to check out her stuff she is @loveseat_upcycling on instagram and also has a stall at Mother Jones Flea Market on York Street. Off I went to Hickeys on Oliver Plunkett Street and picked up some tester pots of Little Greene paint, and a small tin of clear varnish. Along with the few other DIY bits and bobs I had a home I was set.
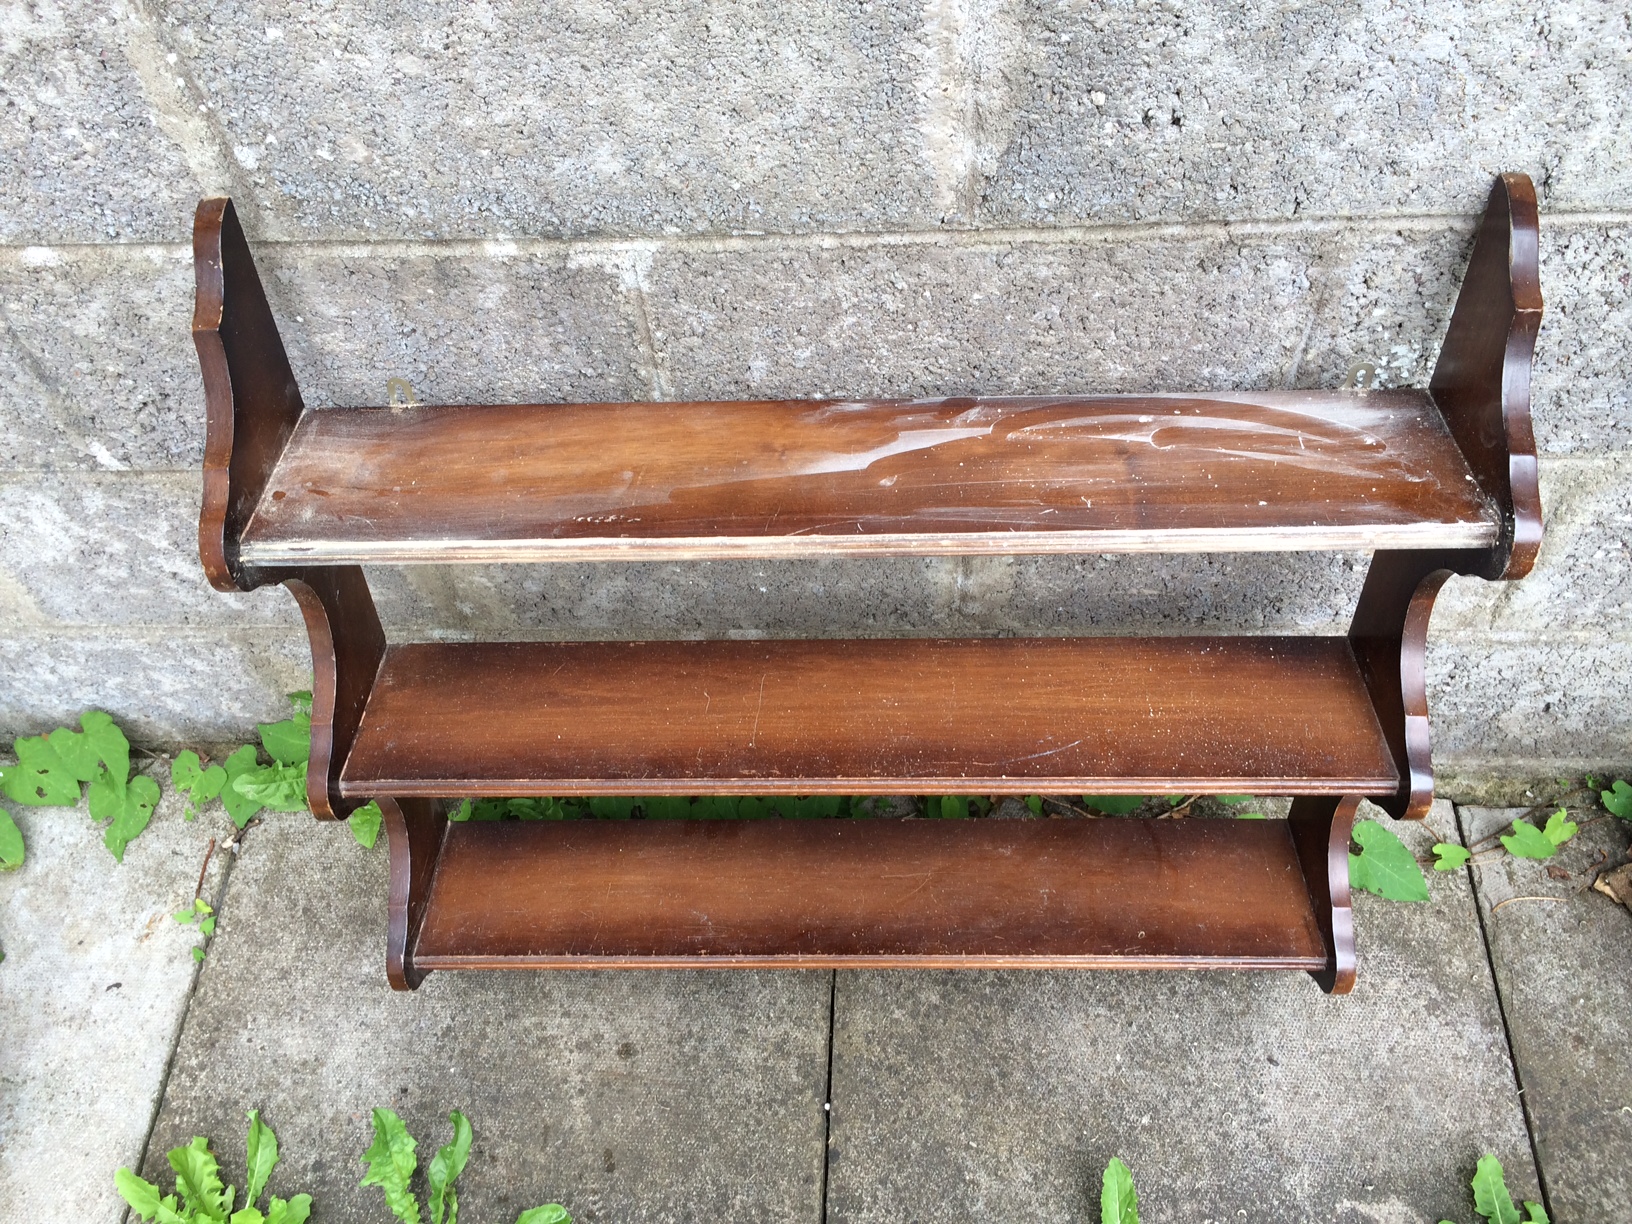
So let me introduce you to my furniture pieces who have kindly volunteered for a make over. Since moving to cork we have and an old and not all that common looking shelf lying on the floor of the office. I think the shelf came from the UK to Ireland with my parents many moons ago, I rescued it from the skip when the family home was sold about ten years ago. The other piece of furniture is a mirror which I had in my bedroom as a teenager eek! Cant believe I still have it, well, time for some change!

So these are the two pieces of furniture, they do look quite sorry for themselves!
First things first, before you do anything, the furniture will need to be sanded to remove any shiny varnish, stains, dirt, stickers etc. I didn’t go mad with the sanding here I just wanted to create a surface for the new paint to stick to, so particularly with shelf you will see that although I did sand back to the bare wood in places it was not intentional and I did not need to do this for the whole thing.
You can see that I only sanded the surface lightly , I did not want to damage the wood so I used a fine grade sandpaper

Of course one of the most important things that I forgot to include in the above list is SANDPAPER! yes, as I mentioned you will only need a fine or light grade sandpaper, I used a sanding sponge for the shelf and just the usual sheets of sandpaper for the mirror as it was easier to get into the crevices.


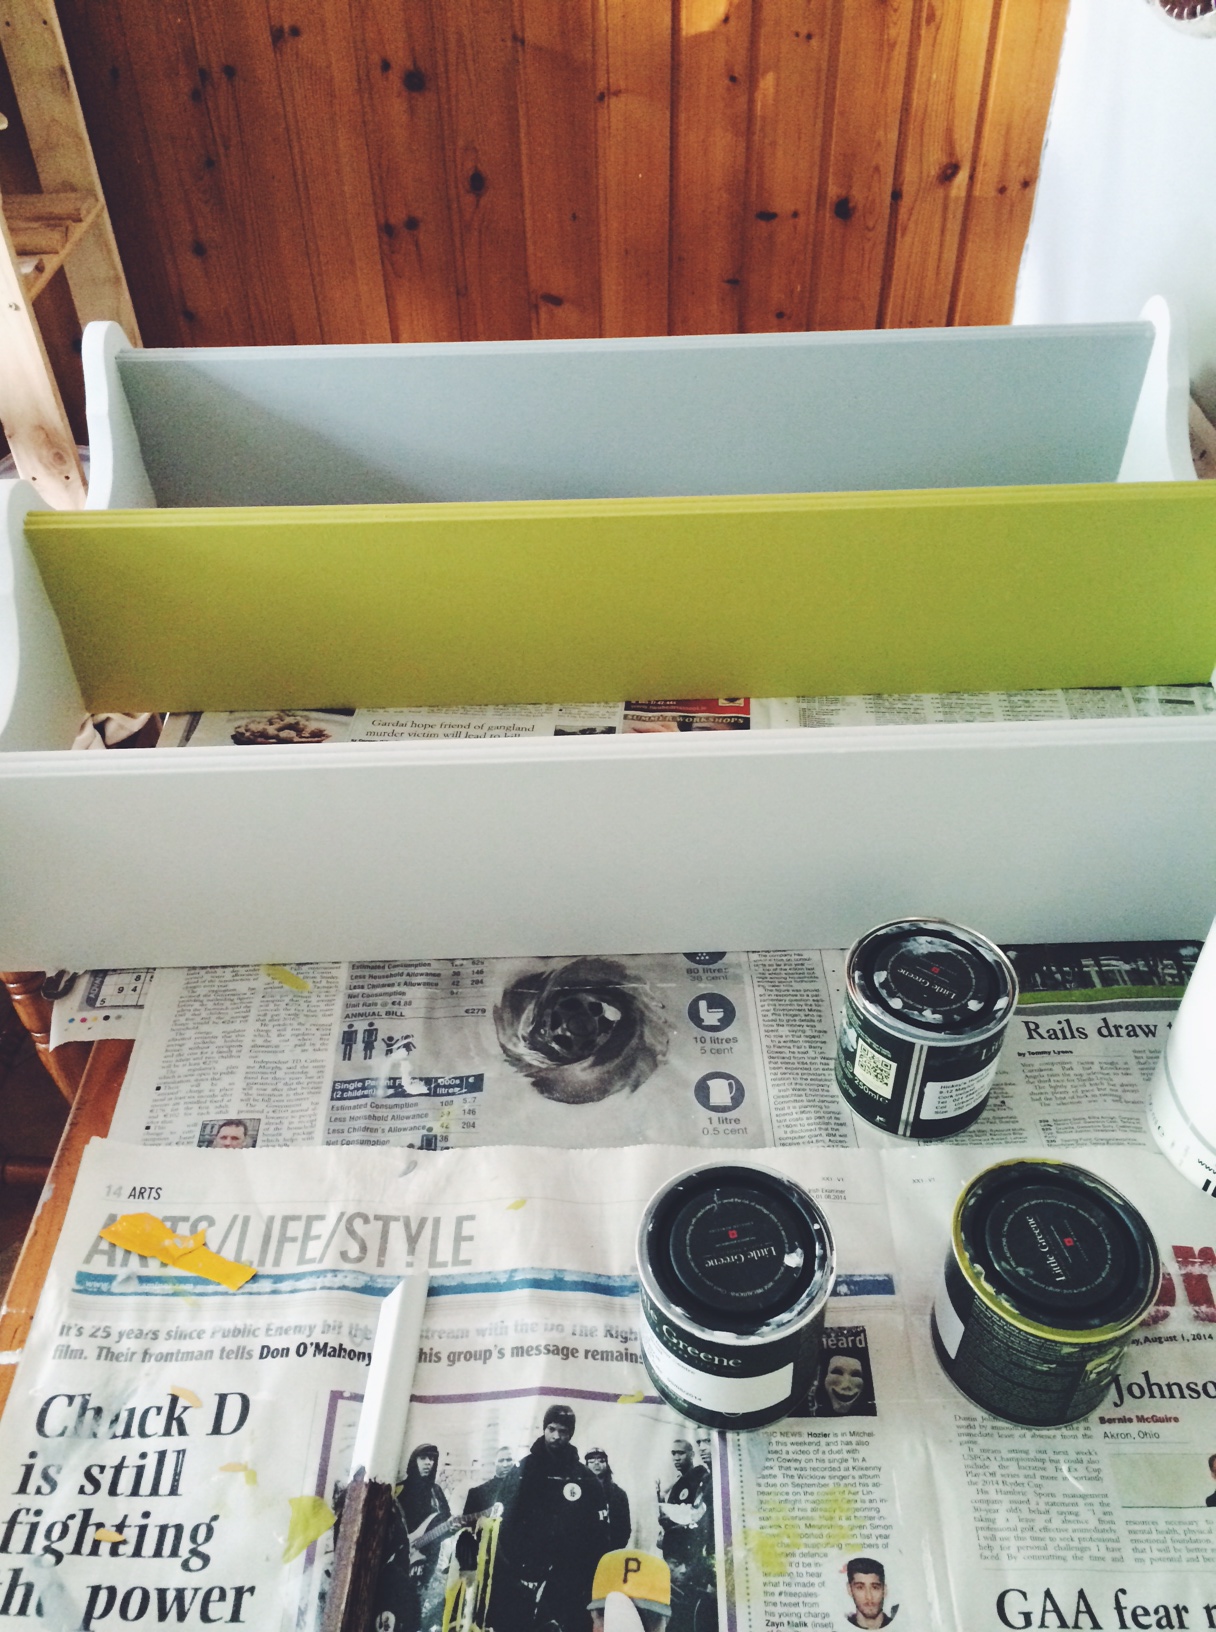
I took the mirror apart to make it easier to paint, the next thing that I did with both pieces was prime them, so you can see in the middle pic here that the primer will give your piece a sort of white washed look. Priming is so important so don’t skip this step! The primer will help to give a surface for the paint to stick to. I used a water based low odour primer that I found in B&Q. I then left it for about four hours to dry fully. Next up it was time for the real fun! I gave the pieces a light dust down and then began to apply the Little Green paint. For both this paint and the primer I used a fine haired paintbrush to minimise brushstrokes. I chose a dark grey, light grey and a funky lime green to make the pieces pop a little. Take your time with this as there are some finicky bits, I found the whole painting process quite relaxing. I left the first coat dry over night and applied the second coat the next day. A note on the lime green- this did not cover very well and I needed to apply three coats. Finally when all coats are thoroughly dry its time for the varnish. As the matt paint itself is easily scratched or marked it is important to put a finish on the pieces to protect them. I used a clear matt varnish as I did not really want a shine to the end product. Again I took my time with the varnish and checked over the pieces when I had finished to ensure that there were not drips. I then left the pieces to dry over night.

I was very excited to get myDIY on the next day and put these newly refreshed pieces in their new homes
Here you have it, the end result! I have to say I was quite pleased at my first attempt at upcycling, it was so nice to give the old furniture a new lease of life particularly as I had had so many memories of them being in by childhood! Hope you enjoy the post!
